BuddyX Template Markers
This article will help you understand the purpose of these markers and how you can use them to target your fans better!
What are template markers?
Template markers are placeholders or variables that can take different values, like a name, in this case. Based on the marker chosen, these placeholders will be replaced with a piece of fan information when the extension is sending the messages to the fans. This makes a mass message more personal and has a higher likelihood of being opened.
How can you use the markers?
At the moment we support two different template markers. These markers are essentially the name with which you will message the fan.
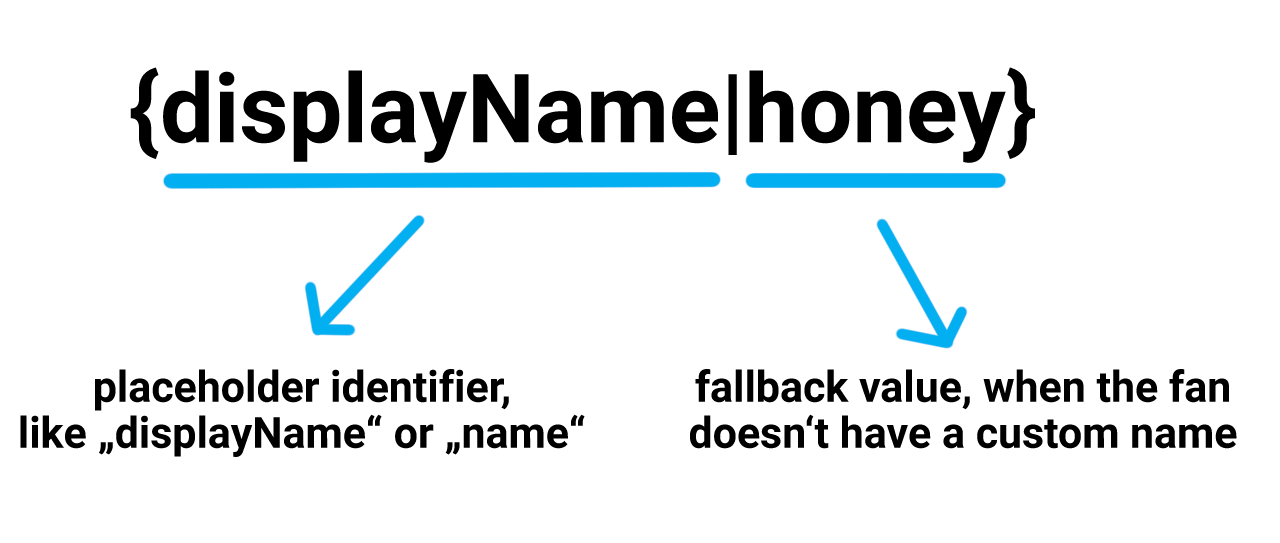
- {displayName}: this is the custom name you have given to your fan. You set this name by clicking on the edit button next to the user name.
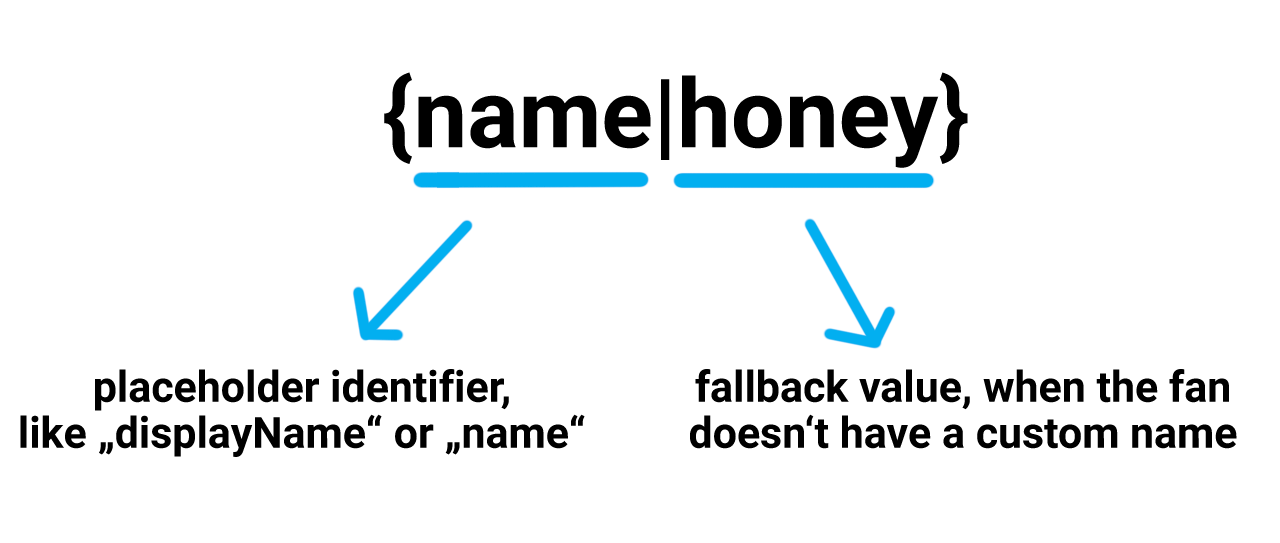
- {name}: the name that the fan has chosen to be displayed. This is specified by the user in their profile settings.
And in case none of these names are specified, don’t worry, you can have a default fallback like baby, honey or any word you wish and that will be sent to the user.
tip
Template Marker cheat sheet
Please only use markers like this without spaces in between brackets, separator and the marker.
-
Only custom name, without a fallback: {displayName}
-
Only custom name, with a fallback: {displayName|yourFallbackWord}
-
Only fan defined name, without a fallback: {name}
-
Only fan defined name, with a fallback: {name|yourFallbackWord}
So let’s get into details!
1. Custom Name:
When you want to use the custom name you have given each user to appear in the message, you have to use the marker: {displayName}. With this marker, the extension will replace the placeholder with the name everywhere you have used the marker. And for the fans you have not set a custom name, you can define a fallback value like this: {displayName|honey}. You can also leave it empty, in which case it will be empty!
note
Let’s take an example message to explain it better!
Hi {displayName|honey}! How are you doing? How was your day {displayName}? 💕
Result:
For a fan with a custom name, let’s say Jack, the message sent will be:
- Hi Jack! How are you doing? How was your day Jack? 💕
For a fan with no custom name, the message will be:
- Hi honey! How are you doing? How was your day? 💕
2. Name chosen by the fan to be displayed
This is the name, which the fan has set for themselves on their profile page. Please keep in mind that not every user sets a display name in their profile page, or some keep names you would not want to address them with 🤣. So be sure to check the names for fans you want to use this marker for! If there is no name defined by the user, the placeholder will be blank. Or if you want to define a fallback value, you can define it in the placeholder like this: (name|honey)
note
Let’s take an example message to explain it better!
Hi {name|honey}! How are you doing? How was your day {name}? 💕
Result:
For a fan with a display name, let’s say Peter, the message sent will be:
- Hi Peter! How are you doing? How was your day Peter? 💕
For a fan with no display name, the message will be:
- Hi honey! How are you doing? How was your day? 💕